Watch Guides
How to Adjust a Metal Watch Band at Home
A practical guide to sizing a metal watch bracelet, using a clasp micro-adjustment, removing links safely, and knowing when to call a professional.
Back to Watch Guides →
A metal bracelet should feel secure and balanced, not like a loose cuff or a handcuff. Many bracelets can be sized carefully at home. Start with the small adjustment at the clasp, identify how the links are held together, and only remove as much metal as the fit actually needs. Patience matters more than force.
The Short Answer
To adjust a metal watch band, first try the clasp’s micro-adjustment if it has one. If the bracelet is still too large, identify the removable links and the fastening system, usually pins or screws. Remove links gradually and keep the clasp centered under your wrist. Reinstall the pin or screw securely, then wear the watch through normal movement before deciding whether it needs one last small change.
The process is straightforward on a common push-pin bracelet, but bracelets are not all built the same way. Orient’s bracelet-sizing guide shows the basic pin-tool, holder, and small-hammer setup. Read the bracelet before reaching for any tool. That small pause prevents most scratches and bent pins.
1. Decide What “Right” Feels Like
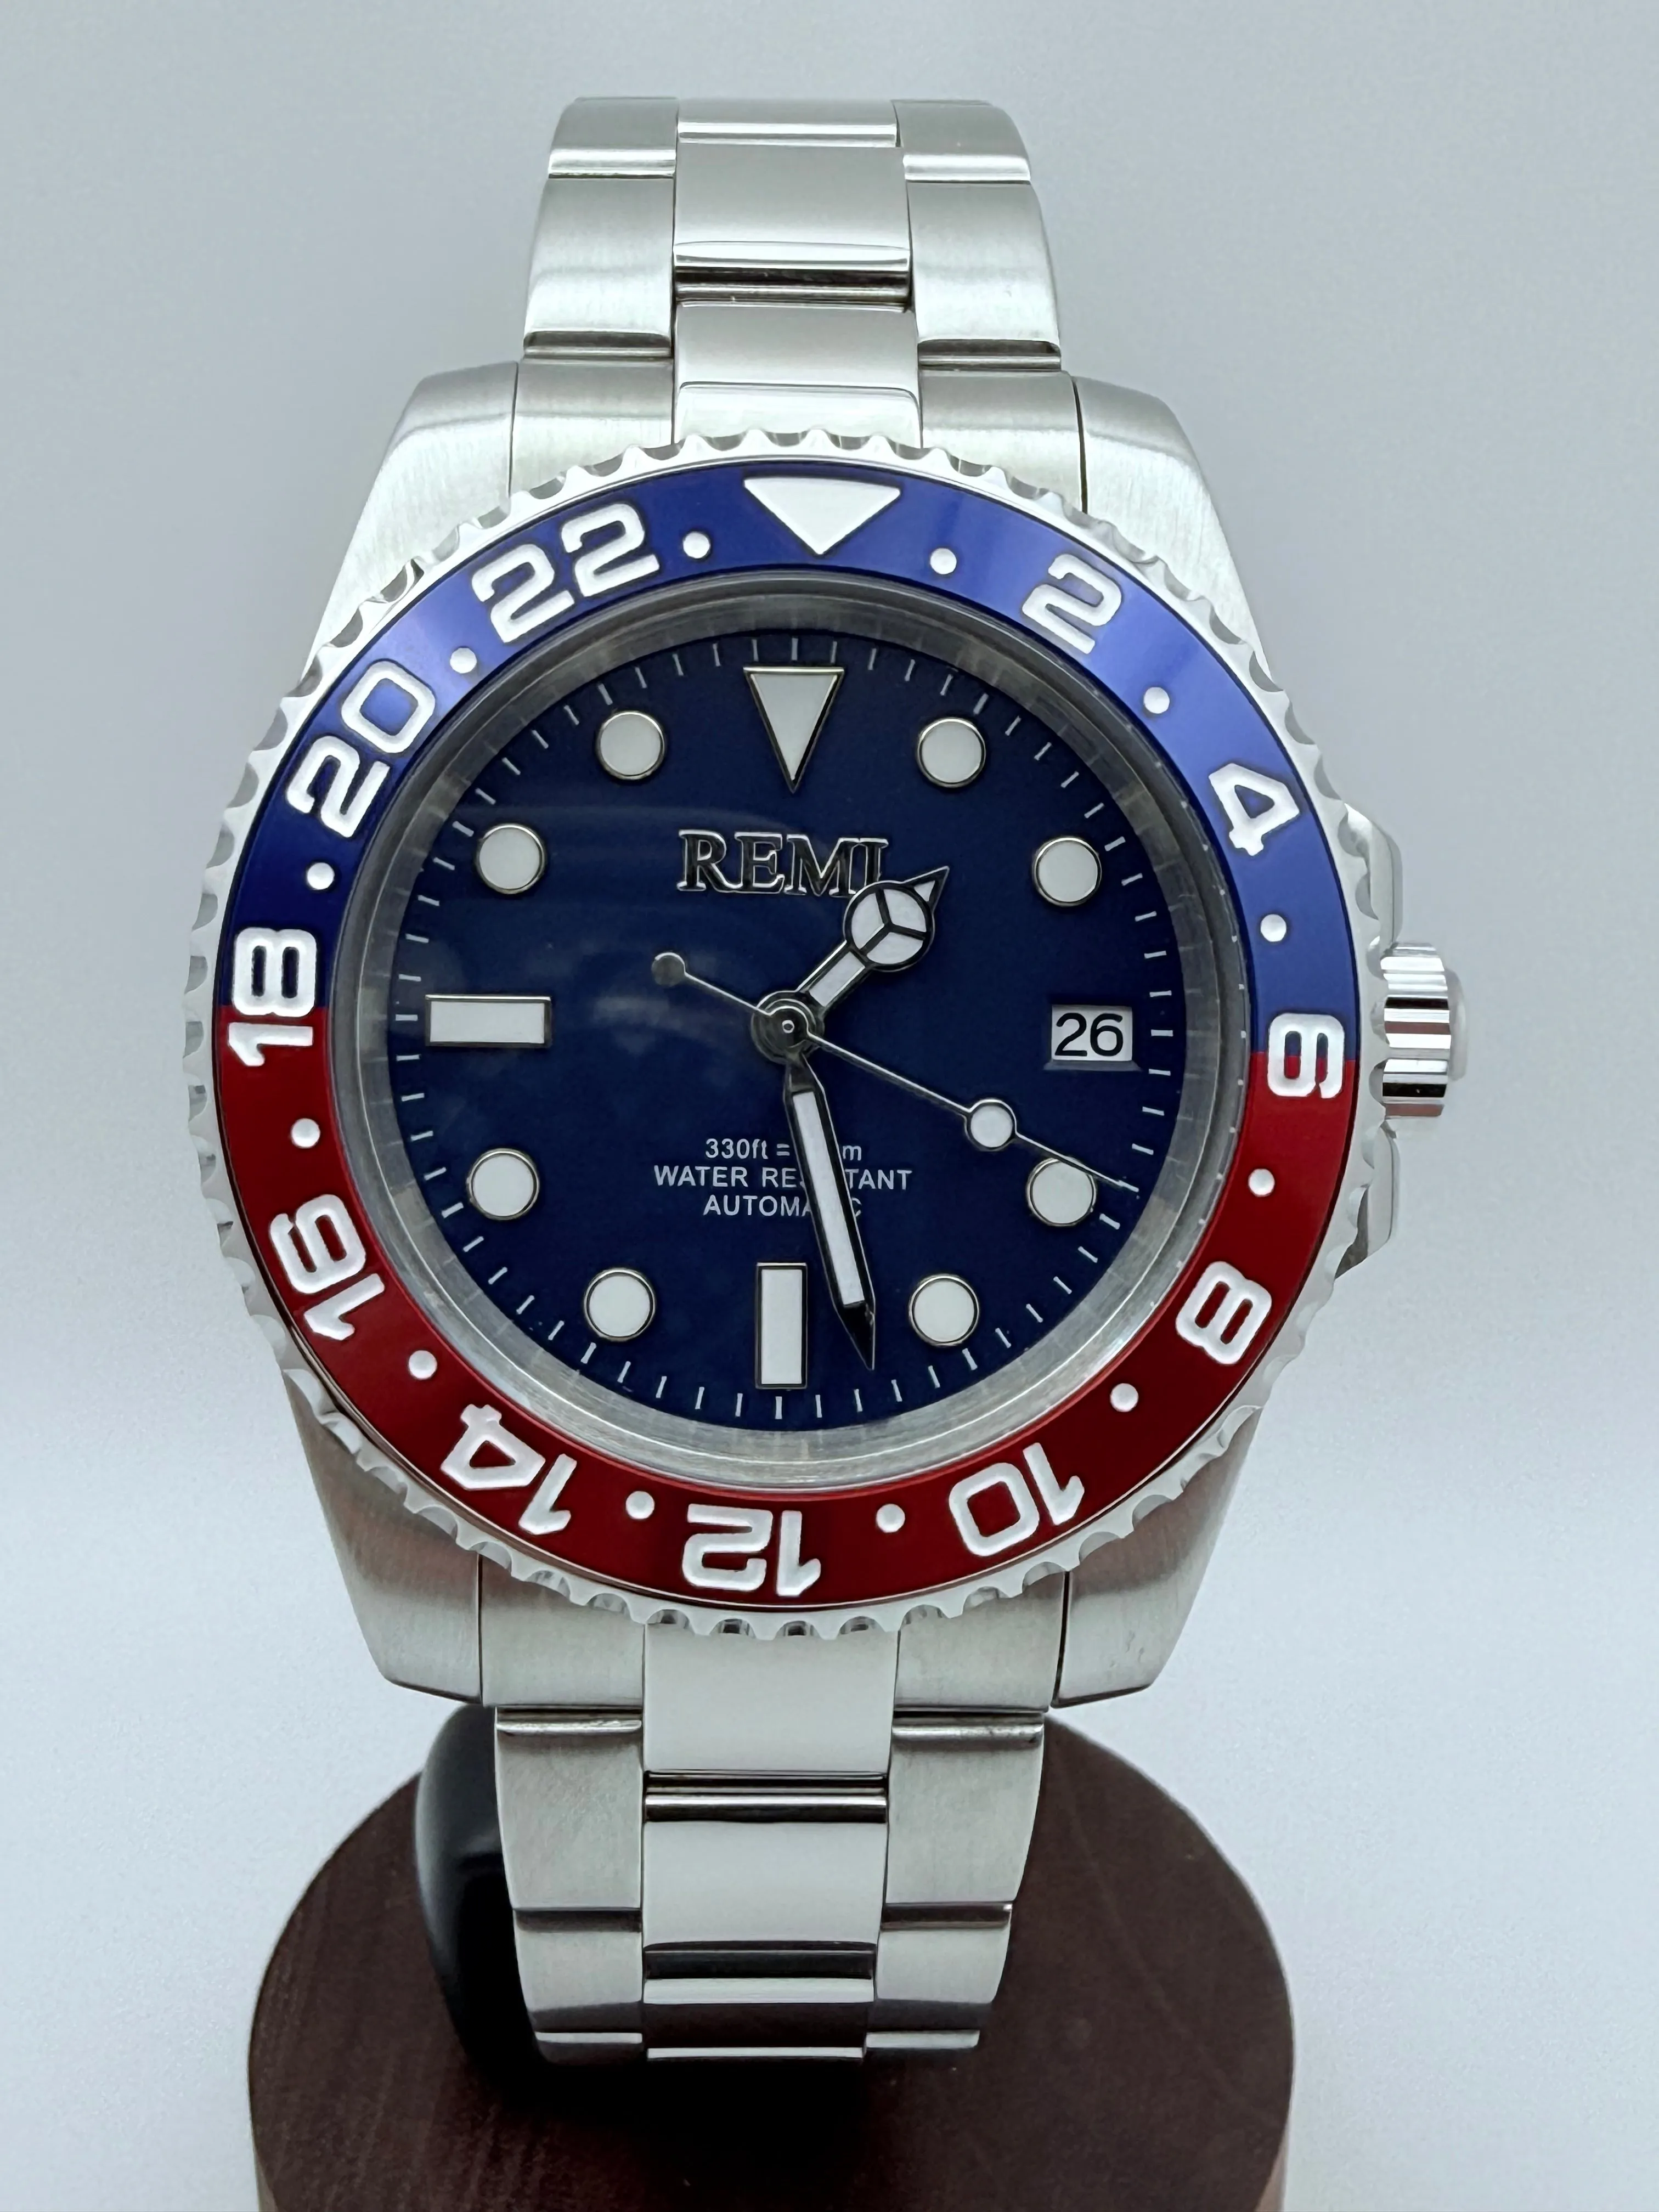
Wear the watch just above the wrist bone, where the case can sit flat without landing on your hand. A bracelet should move a little when you turn your wrist, but the watch should not roll around to the underside of your arm. If you can slide one fingertip under the bracelet without forcing it, you are usually in a sensible comfort range.
Do the fit check at an ordinary time of day. Heat, activity, and a long afternoon at a desk can all make a wrist feel different. A bracelet that is perfect when you first put it on can become annoying later if it has no room at all. A watch that repeatedly falls over the wrist bone is too loose, no matter how comfortable it seems for the first few minutes.
Notice where the clasp sits. It should usually rest near the center of the underside of your wrist. A badly centered clasp can make the watch head pull to one side even when the overall circumference seems right. That is why link removal is normally split between the two sides of the bracelet rather than taken from one side at random.
2. Use the Micro-Adjustment First
Many folding clasps have a row of small holes inside the clasp. Moving the spring bar between those holes changes the length by a small amount without removing a full link. This is the first adjustment to try when the bracelet is only a little too loose or too tight, and it is often the better choice as seasons change.
Open the clasp and look for a spring bar near its end. On a conventional clasp, compress one end with a proper spring-bar tool and move it one hole at a time. Do not pry at the exterior of the clasp or use a knife. The goal is a controlled movement inside the clasp, not a mark on its visible surface. Nixon also recommends trying the clasp adjustment before removing links from a traditional bracelet.
Set the bar around the middle position when possible. That gives you room to make the bracelet either smaller or larger later. If a one-hole move solves the problem, stop there. A micro-adjustment is designed for fine tuning, while removing a link changes the bracelet much more dramatically.
3. Identify the Bracelet Before You Touch a Pin
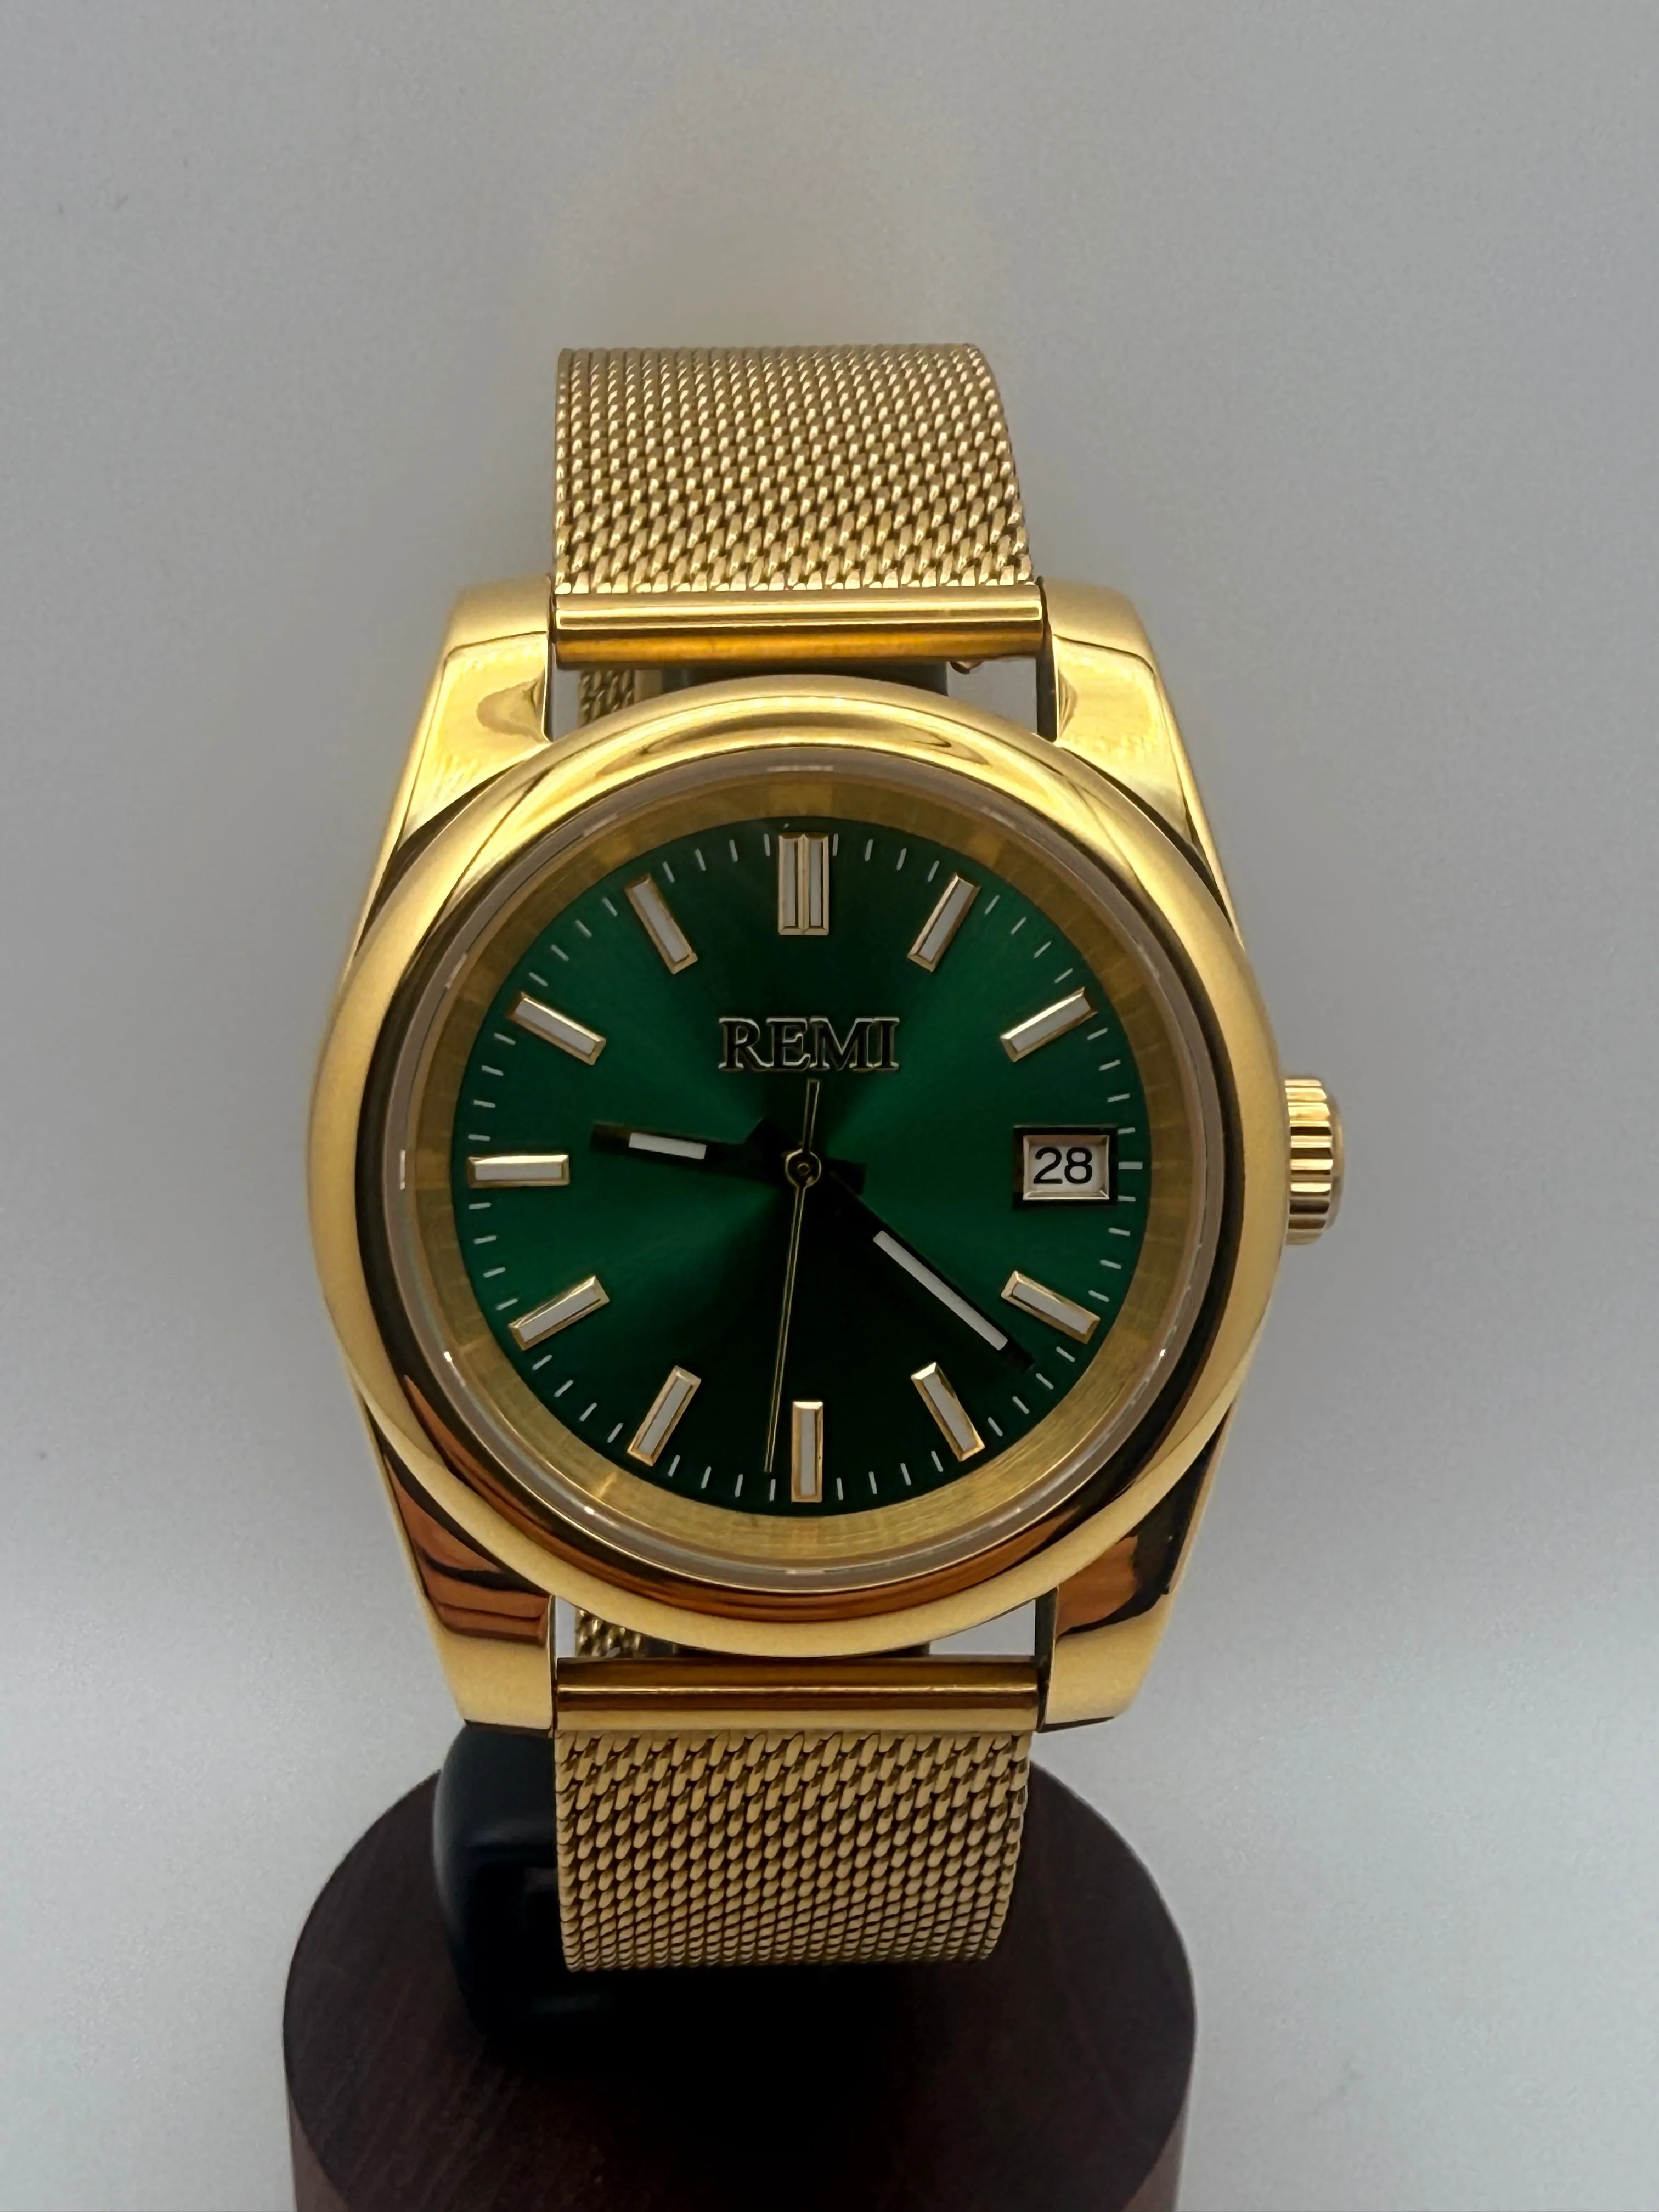
Turn the bracelet over and inspect the inside. Removable links often have small arrows stamped into them. Those arrows usually indicate the direction a pin should be pushed out. A row of small screw heads at the side of the bracelet points to a screw-link system instead. A very fine mesh bracelet may use a sliding clasp rather than removable links.
Only remove links that are clearly meant to come out. Decorative end links close to the case often do not belong in the adjustment plan. Some bracelets use pins and tiny collars, folded metal tabs, or a construction that is difficult to identify by sight. If you cannot tell which system you have, do not test it with force. A local watchmaker can usually size a familiar bracelet quickly, and that is far cheaper than replacing a damaged link.
Integrated bracelets deserve extra caution because their shape and link geometry are part of the case design. Vintage and pre-owned pieces also merit a slower approach: age can make a pin, screw, or clasp less forgiving than it looks. If you are considering a restored find, the details in the pre-owned watch collection are a useful place to start before committing to a particular bracelet.
4. Gather the Right Tools and Protect the Watch
For a typical push-pin bracelet, use a bracelet-sizing block or holder, a pin pusher, a small jeweler’s hammer, needle-nose pliers, and a soft microfiber cloth. A purpose-made link-removal tool is helpful because it holds the bracelet steady and gives the pin somewhere safe to exit. Keep a shallow tray nearby for pins, collars, and removed links. They are very easy to lose on a crowded table.
Cover the work surface with the cloth before you begin. It protects the case and stops tiny parts from rolling away. Work in good light, take a photo of the bracelet before disassembly, and remove one link at a time. If you are using an inexpensive tool kit, make sure its pusher is straight and lined up with the pin. A crooked pusher can scar a link or snap before the pin moves.
Do not substitute excess force for the right tool. A paper clip, kitchen knife, or nail may look close enough, but a slip can gouge the bracelet or your hand. The detailed tool list from Nixon’s cotter-pin guide is a useful reference for the common pin-and-holder method.
5. Remove Links From a Push-Pin Bracelet
Push-pin or cotter-pin bracelets are common, and their adjustment is manageable when you follow the arrows and keep the bracelet supported. Before starting, close the clasp and pinch the extra slack on your wrist. Count how many links need to come out, then decide how to divide them. For two links, one from each side is usually a good start. For an odd number, one extra link on the 6 o’clock side often helps the clasp remain centered.
- Find the removable links. Look for arrows on the inside of the bracelet. They identify both the removable section and the direction the pin should leave.
- Set the bracelet in the holder. Support the link so the pin can exit into the open channel. Align the pusher with the pin, not the edge of the link.
- Push in the direction of the arrow. Apply slow, straight pressure. Once the pin protrudes, use fingers or pliers to pull it free without bending it.
- Remove the planned link or links. Keep every pin, collar, and link together in the tray. If a small collar falls out, do not guess where it goes during reassembly.
- Reconnect the bracelet. Line the remaining links up, then insert the pin from the opposite direction to the arrow. Press or tap it flush, checking that it does not protrude or rattle.
Stop if the pin refuses to move. The bracelet may use a screw, a collar, or a direction that is not obvious. Pushing harder is the point where a routine adjustment becomes a repair. It is better to pause with one intact bracelet than continue with a bent pin halfway out.
6. Handle Screws, Collars, and Mesh Differently
A screw-link bracelet has tiny screw heads at the side of the links. Use a screwdriver that fits the slot precisely, hold the bracelet stable, and turn slowly. A tool that is too small can slip and damage the screw head. Do not use thread locker or glue unless the watch maker specifically directs you to do so.
Pin-and-collar systems are more delicate because a small collar may sit inside the middle link. It needs to be put back in the correct position before the pin is reinserted. If you did not see where the collar came from, or you have more than one loose tiny part on the cloth, this is a good moment to stop. A professional can reassemble it without turning a one-link adjustment into a missing-parts problem.
Mesh bracelets often adjust at the clasp instead of by removing links. Open the clasp lock, slide the clasp to the new position, and close it only when it is fully seated. The method is simple, but the clasp can scratch or fail to lock if forced. The same rule applies to every bracelet type: know the system first, then use the lightest effective pressure.
7. Recheck the Fit Before You Put the Tools Away
Close the clasp, gently pull at both sides of the bracelet, and inspect every pin or screw you touched. Nothing should stick out, feel loose, or catch on a sleeve. Put the watch on and make a few normal movements: turn a doorknob, rest your wrist on a desk, reach into a pocket, and flex your hand. The watch should stay above the wrist bone without pinching.
Do not chase a perfectly motionless watch. A little movement is normal, especially as your wrist changes through the day. The practical goal is a stable case, a centered clasp, and enough room to be comfortable. If you are still unsure after the fit check, our guide on how a watch should fit walks through the placement and comfort cues in more detail.
When It Is Smarter to See a Professional
Take the watch to a jeweler or watchmaker when the bracelet has no clear adjustment markings, the pin will not move, a screw head is already damaged, a collar is missing, or the watch is valuable enough that an experiment feels wrong. The same applies to a bracelet that looks bent, has visible corrosion, or will not close securely after reassembly. A professional fit is a sensible part of ownership, not an admission of defeat.
For a new strap rather than a metal bracelet adjustment, the process is different. The guide to changing a watch strap at home covers spring bars, lug width, and the careful checks that keep a replacement strap secure.
How REMI Helps You Find a Comfortable Fit
A clear product description makes sizing less of a guessing game. REMI’s current watches include different case shapes, straps, and bracelets, so you can compare the kind of fit that suits your routine. A bracelet watch can feel substantial and refined, while a leather, nylon, or rubber strap offers a different kind of adjustability.
Before choosing, compare the dimensions of a watch you already wear comfortably. Our guide to measuring watch size explains the case, lug-to-lug, thickness, and strap measurements that make that comparison useful. If a particular watch raises a fit question, REMI’s contact page gives you a direct way to ask before you decide.
A Quick Bracelet-Adjustment Checklist
- Check the fit during a normal part of the day, not only when your wrist is cool.
- Try the clasp micro-adjustment before removing a full link.
- Identify pins, screws, collars, or a sliding clasp before choosing a tool.
- Remove links in a balanced way so the clasp stays centered.
- Follow any arrows on the bracelet, and reinstall pins from the opposite direction.
- Keep small parts in a tray and test every connection before wearing the watch.
- Stop when the construction is unclear, the part resists, or the watch deserves specialist care.
A well-adjusted bracelet disappears into the day until you need the time. Start small, protect the finish, and let the bracelet’s construction tell you what it needs. That measured approach keeps the watch comfortable and preserves the details that made you choose it.
Common Questions
Metal Watch Band FAQ
How tight should a metal watch band be?
It should keep the watch from sliding onto your hand while allowing a little movement as your wrist changes through the day. It should not pinch, leave a deep mark, or pull the clasp away from the underside of your wrist.
Should I use the clasp micro-adjustment before removing links?
Yes. A micro-adjustment is the cleanest way to make a small comfort change. Remove links only when the bracelet is still clearly too loose or too tight after you have tried the clasp setting.
Which direction do watch pins come out?
Arrows stamped on the inside of removable links usually show the direction a pin should travel out. Reinstall the pin from the opposite direction. If there are no arrows or the pin resists, stop and identify the bracelet before applying more force.
Can every metal watch band be adjusted at home?
No. Integrated bracelets, pin-and-collar systems, damaged links, unfamiliar screw systems, and valuable vintage watches are better handled by a watchmaker or jeweler. Protecting the watch is always the right priority.
Keep Reading
Related Posts

Watch Fit
How Should a Watch Fit? Comfort and Placement
Learn where a watch should sit and how snug a bracelet or strap should feel.
Read the guide →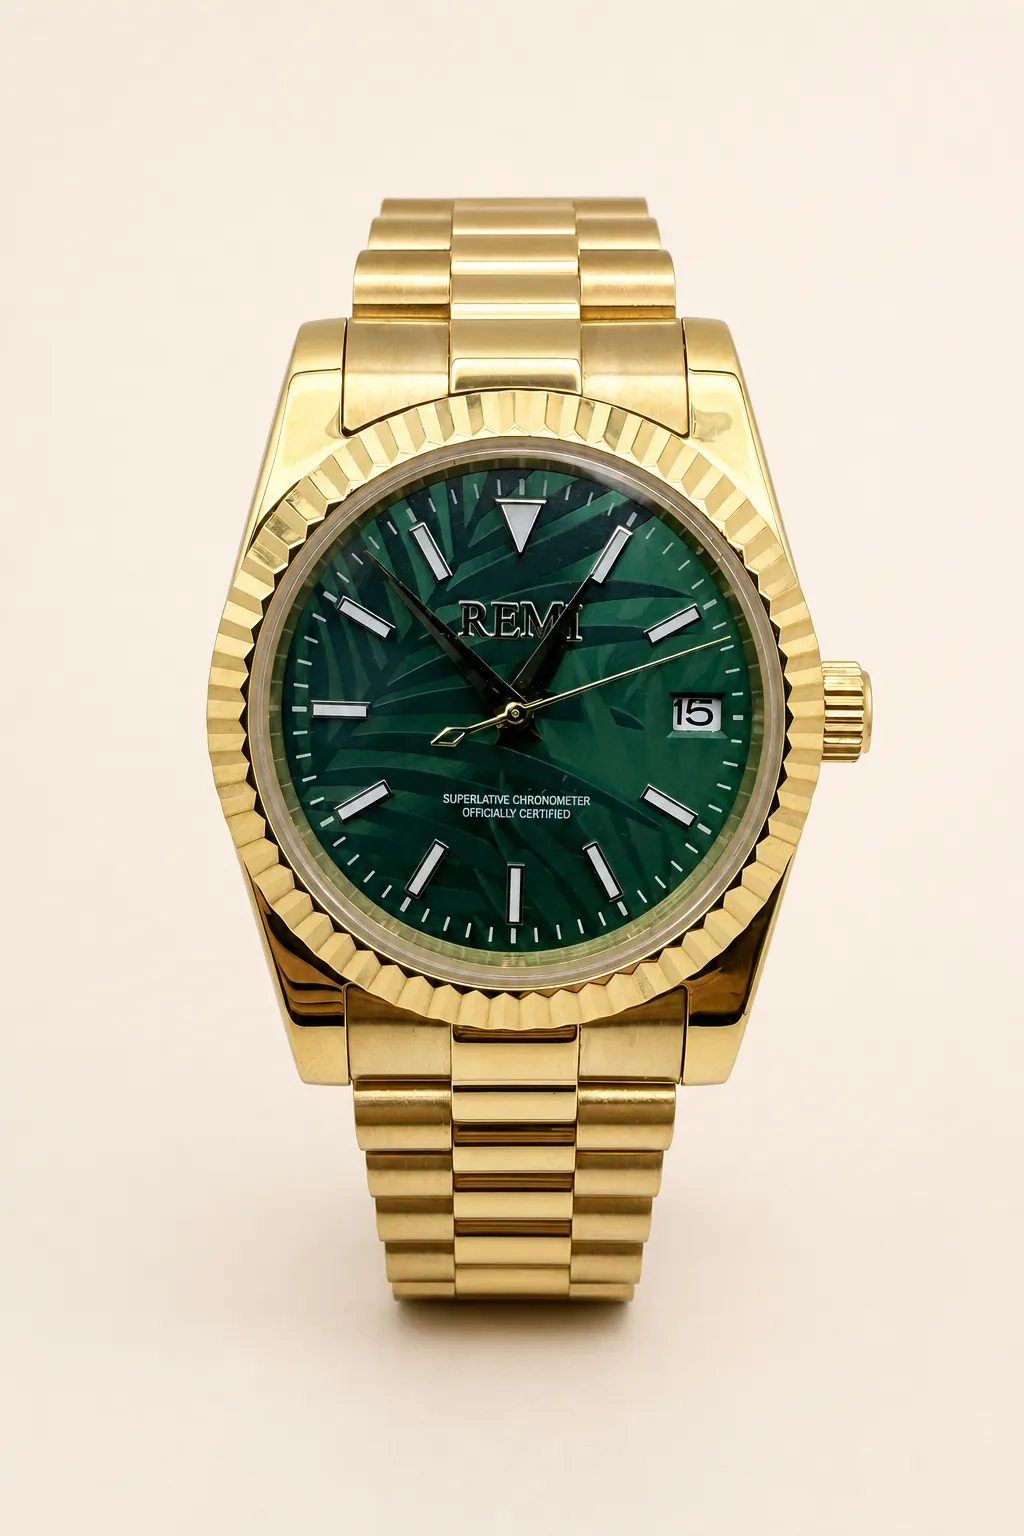
Watch Fit
How to Measure Watch Size for a Better Fit
Compare wrist, case, lug-to-lug, and strap measurements with confidence.
Read the guide →
Watch Care
How to Change a Watch Strap at Home
Choose the right fit, swap a standard strap, and make sure it is secure.
Read the guide →